Ultimate Member gives you several key pages out of the box Profile, Account, Login, Register, and Member Directory. Each one works well, but the default designs are intentionally generic. If your site has a brand identity, or if you simply want your member profiles to look professional rather than like every other Ultimate Member site, you’ll want to customize them.
The good news: you have two ways to do this. One requires no code at all. The other gives you full control via PHP templates.
This guide covers both.
Before You Start: Which Method Is Right for You?
Use the Elementor method if:
- You’re already building your site with Elementor
- You want to customize visually without touching code
- You want to style the cover photo, header, bio, social links, and tabs using drag-and-drop controls
- You don’t want to maintain a child theme
Use the PHP template method if:
- You need to restructure the HTML of the profile page itself
- You’re a developer comfortable with PHP and WordPress theme files
- You need to add or remove sections that aren’t controlled by CSS alone
Jump to the method that fits your workflow:
Method 2: PHP Template Override
Method 1: Customize the Ultimate Member Profile Page with Elementor
No child theme or PHP required. This method uses a free Elementor plugin that replaces the default Ultimate Member profile template with a fully visual, drag-and-drop layout.
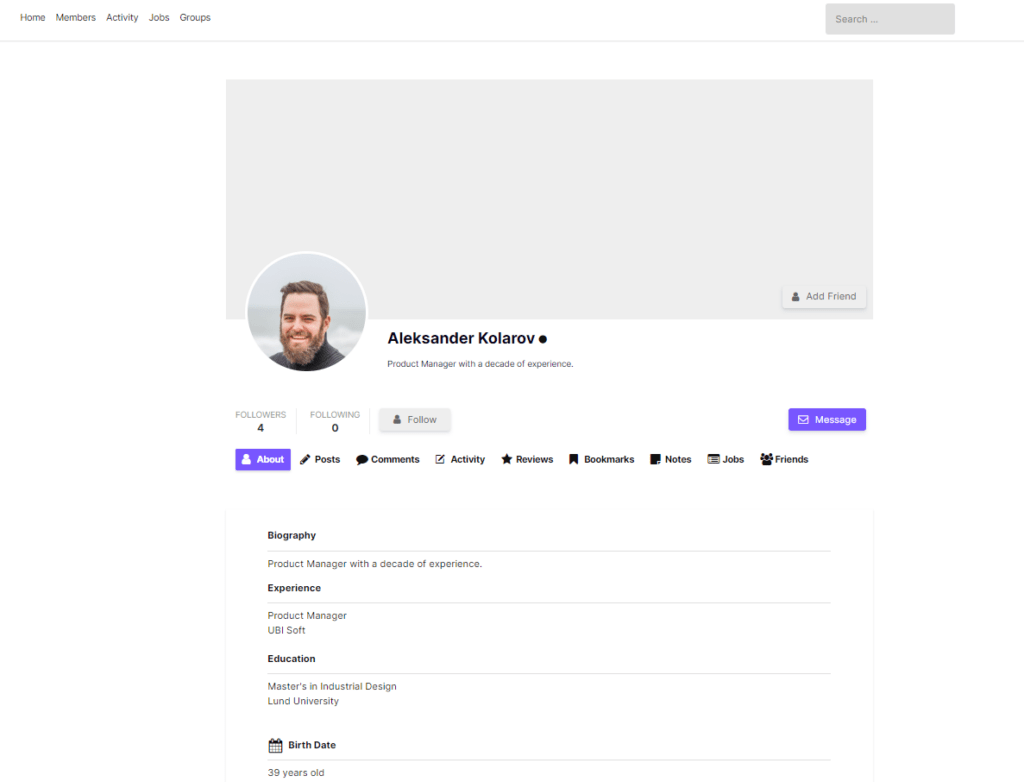
The default Ultimate Member profile page looks like this functional, but generic. It shows a cover photo area, profile image, navigation tabs, and content — all with fixed layout and limited styling options unless you write custom CSS.
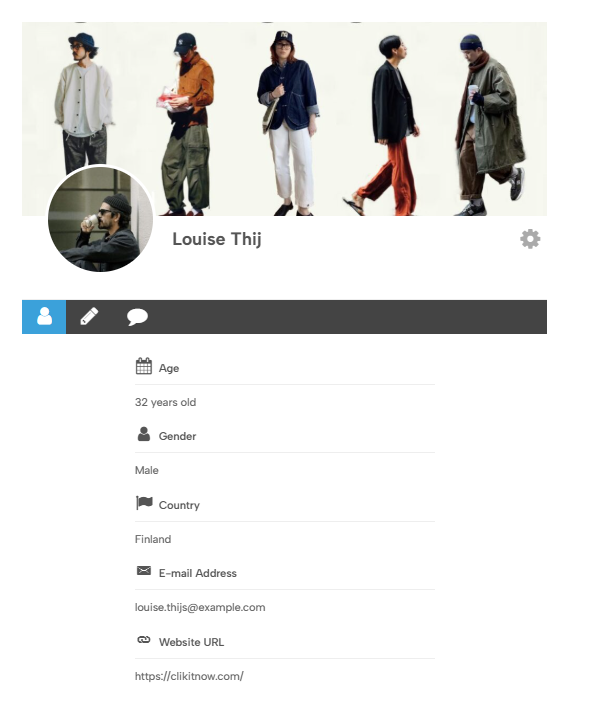
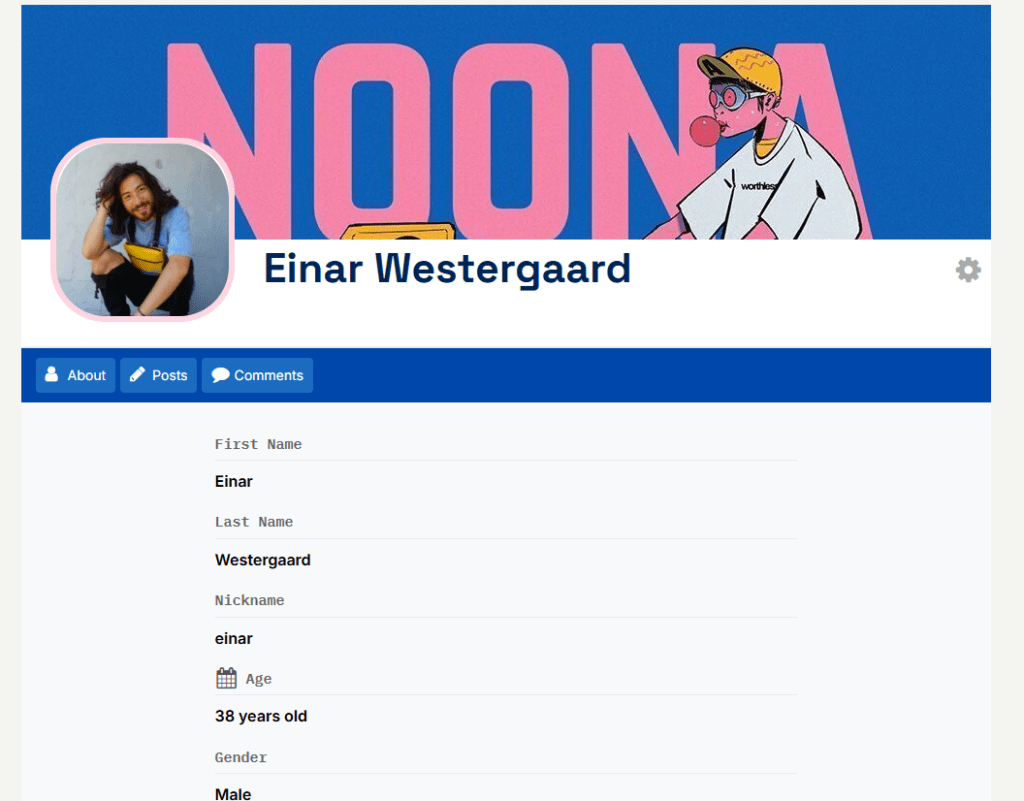
With the Elementor Profile Builder, you replace this template entirely with an Elementor layout you control. Every element — cover photo, header, bio, social links, action buttons, profile tabs — becomes an independent Elementor widget you can style, reposition, and configure from the editor panel.
What You Can Customize
The Profile Builder includes 9 dedicated widgets:
- Cover Photo — full-width cover image with height and overlay controls
- Profile Header — avatar, name, role, and meta fields in one component
- Profile Bio — member’s bio/description field with typography controls
- Social Links — icons and links to member’s social profiles
- Action Bar — follow, message, and connection buttons
- Profile Completion Bar — visual progress indicator for profile completeness
- Profile Navigation — the tab bar linking to different profile sections
- Profile Body — the content area where tab content renders
- Custom Meta Fields — display any Ultimate Member custom field anywhere on the page
How to Set It Up
Step 1: Install the free Elementor Widgets for Ultimate Member plugin from WordPress.org. Activate it alongside Ultimate Member and Elementor.
Step 2: Create a new page in WordPress. Open it with Elementor.
Step 3: In the Elementor widget panel, look for the Ultimate Member section. You’ll find the Profile Builder widgets listed there.
Step 4: Build your profile layout by adding widgets to the page. A typical layout: Cover Photo at the top → Profile Header below → two-column section with Bio on the left and Meta Fields on the right → Action Bar → Profile Navigation → Profile Body.
Step 5: Style each widget using the Elementor Style tab. Font, colors, spacing, border radius — everything is controlled visually.
Step 6: Publish the page.
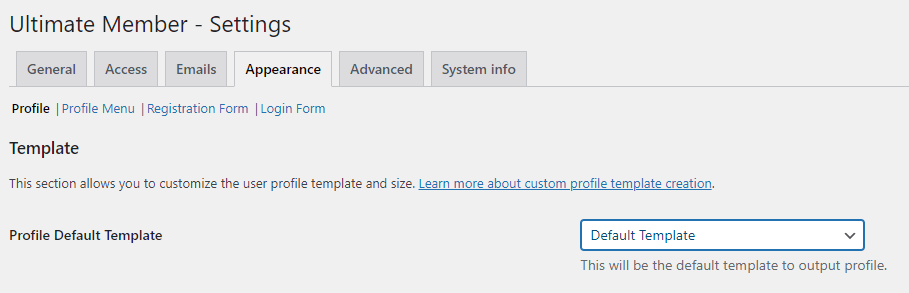
Step 7: Go to Ultimate Member → Settings → Appearance → Profile. Under “Profile Default Template,” select your new page from the dropdown. Save changes.
Your custom Elementor profile layout is now live across all member profiles on your site.
Note: The Profile Page Builder is available in the Pro version of the plugin. The free version includes widgets for the member directory, user avatar, meta fields, and profile name display. Download free or upgrade to Pro →
Method 2: Customize via PHP Template Override
This is the native Ultimate Member approach. You copy the default profile template into your child theme and modify the PHP and HTML directly. Use this when you need structural changes the CSS/Elementor method can’t achieve — for example, reordering the PHP hooks that control which extension components appear, or adding custom PHP logic to the profile page.
Step 1: Create a Child Theme
You must use a child theme. If you edit the parent theme directly, your changes will be overwritten on the next theme update.
Install the Child Theme Configurator plugin if you don’t already have a child theme set up. Run it against your active parent theme and activate the generated child theme.
Step 2: Create the Templates Folder
Inside your child theme directory, create a folder called ultimate-member. Inside that, create a folder called templates.
The full path should look like this:
/wp-content/themes/your-child-theme/ultimate-member/templates/Ultimate Member automatically checks this location for template overrides before falling back to its own templates folder.
Step 3: Copy the Default Profile Template
Navigate to the plugin’s default template location:
/wp-content/plugins/ultimate-member/templates/profile.phpCopy this file into your child theme’s templates folder:
/wp-content/themes/your-child-theme/ultimate-member/templates/Rename the copy to something descriptive — for example, profile-custom.php. You can use any name you want; Ultimate Member will list all .php files in this folder as available templates.
Step 4: Add the Template Header Comment
Open your copied file and add a comment to the very first line that gives the template a readable name. Ultimate Member uses this comment to display the template name in the settings dropdown.
<?php /* Template: Profile Custom */
if ( ! defined( 'ABSPATH' ) ) exit; ?>
Without this comment, the template may not appear in the settings menu correctly.
Step 5: Edit the Template
Now customize the file. The default profile.php uses WordPress action hooks to output each section of the profile page. The main hooks you’ll work with:
um_profile_header_cover_area— outputs the cover photoum_pre_header_editprofile— outputs the edit profile iconum_profile_header— outputs the profile header (avatar, name, meta)um_profile_nav— outputs the navigation tabsum_profile_body— outputs the tab content area
You can reorder these, wrap them in custom HTML, add classes, or remove sections you don’t need. See the Snippets section at the bottom of this article for common modifications.
Step 6: Package and Activate the Child Theme
If you haven’t activated the child theme yet, compress the child theme folder into a zip file and upload it via Appearance → Themes → Add New Theme. Activate it.
If the child theme is already active, the template file is already available — you don’t need to re-upload anything.
Step 7: Assign the Template in Ultimate Member Settings
Go to Ultimate Member → Settings → Appearance.
Under the Profile section, find the Profile Default Template dropdown. Your new profile-custom.php file should appear in the list by its template comment name.
Select it and click Save Changes.
Your custom template is now active across all member profile pages.
CSS Customization Snippets {#css-snippets}
If you want quick visual changes without PHP or Elementor, CSS is the fastest path. Add these to your child theme’s style.css or via Appearance → Customize → Additional CSS.
Change Profile Avatar Size
.um-profile-photo img {
    width: 120px !important;
    height: 120px !important;
    border-radius: 50%;
}
Hide the Cover Photo Area
.um-cover-area {
    display: none !important;
}
Restyle the Profile Navigation Tabs
.um-profile-nav .um-profile-nav-item a {
    background-color: #f5f5f5;
    border-radius: 4px;
    font-weight: 600;
    color: #333;
    padding: 8px 16px;
    margin-right: 4px;
}

.um-profile-nav .um-profile-nav-item a:hover,
.um-profile-nav .um-profile-nav-item.active a {
    background-color: #046bd2;
    color: #ffffff;
}
Add a Border Around the Profile Card
.um-profile-body {
    border: 1px solid #e2e8f0;
    border-radius: 8px;
    padding: 24px;
}
Adjust Profile Header Background
.um-profile-header {
    background: linear-gradient(135deg, #f9fafb 0%, #e2e8f0 100%);
    padding: 30px 20px;
}
Useful PHP Snippets for Profile Page Customization
These snippets go in your child theme’s functions.php file. They use Ultimate Member’s action hook system to remove or modify profile page components without editing the template file itself.
Remove the Edit Profile Icon
remove_action( 'um_pre_header_editprofile', 'um_add_edit_icon' );Removes the pencil/edit icon that appears on the profile header when viewing your own profile. Useful if you’ve built a custom edit button elsewhere.
Remove the Cover Photo Area
remove_action( 'um_profile_header_cover_area', 'um_profile_header_cover_area', 9 );Removes the entire cover photo section from the profile page. If your design doesn’t include a cover photo, this prevents the empty space from showing.
Redirect Non-Logged-In Users Away from Profiles
add_action( 'um_profile_before_header', function() {
    if ( ! is_user_logged_in() ) {
        wp_redirect( home_url() );
        exit;
    }
});
Useful for communities where member profiles should only be visible to logged-in members.
Troubleshooting {#troubleshooting}
Custom PHP template not appearing in the UM settings dropdown
The most common cause: the template header comment is missing or malformed. Open your .php file and confirm the very first line reads:
<?php /* Template: Your Template Name */The comment must be on the first line. If you have a blank line before it, UM won’t detect it.
Template override not working — site still shows the default layout
Check that your file is inside the correct folder path:
/wp-content/themes/YOUR-CHILD-THEME/ultimate-member/templates/If you placed it in the parent theme, it won’t be picked up. Also confirm the child theme is active and that you’ve actually selected the custom template in UM Settings → Appearance → Profile.
Elementor profile page shows blank or breaks the layout
This usually happens when the Elementor page doesn’t have the correct template setting. In Elementor, set the page template to Elementor Full Width or Canvas (depending on your theme) — not the default page template. Otherwise the theme’s sidebar or content wrapper competes with the Elementor layout.
Profile page returns a 404 for custom users
Go to Settings → Permalinks in WordPress and click Save Changes without changing anything. This flushes the rewrite rules and usually resolves 404s after changing the UM profile page assignment.
Changes affect all users — how to apply only to specific roles
Use the role-based template filter covered in the Role-Based Profile Templates section above. CSS-only changes apply globally; PHP hooks and filters are where you introduce role conditions.
Which Method Should You Choose?
If you’re an Elementor user building a membership site, the Elementor Profile Builder will get you further faster. You can see changes in real time, style everything without writing CSS, and avoid the risk of breaking something in PHP.
If you’re a developer who needs precise control over the template structure — or you need to integrate custom PHP logic directly into the profile page — the template override method gives you complete flexibility.
Both are valid. Many sites use them together: the Elementor method for the visual layer, and PHP snippets (via functions.php) for behavioral changes like redirects or hook removals.
Download Elementor Widgets for Ultimate Member — free on WordPress.org →
Further Reading
- Adding your custom profile templates — Ultimate Member documentation
- Template structure & overriding templates via a theme — Ultimate Member documentation
- How to Change Ultimate Member Profile Layout — Ultimate Member documentation
- How to Make Ultimate Member User Profiles Private by Default
- The Complete List of Ultimate Member Shortcodes