Ultimate Member uses several key pages, such as Profile, Account, Login, Register, and Member Directory, to display, edit, and manage members. Each of these pages is thoughtfully designed, but you may want to adjust their layout or design to better match your brand’s style or personal preferences. Ultimate Member allows you to customize its templates, though doing so requires some basic coding knowledge.
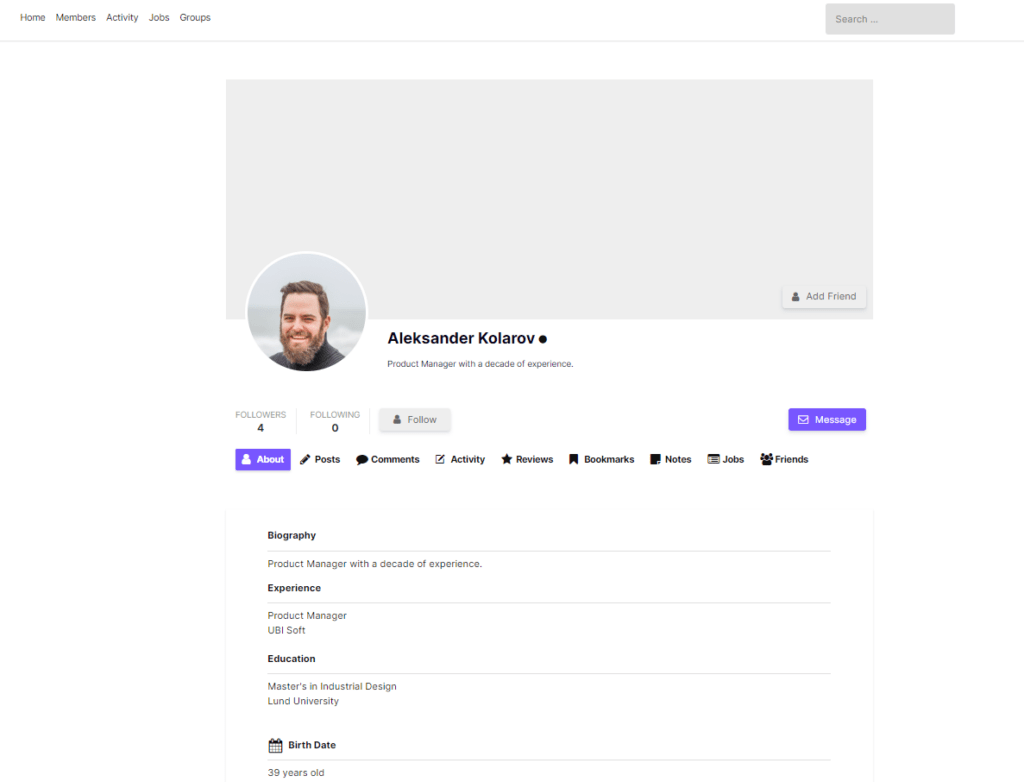
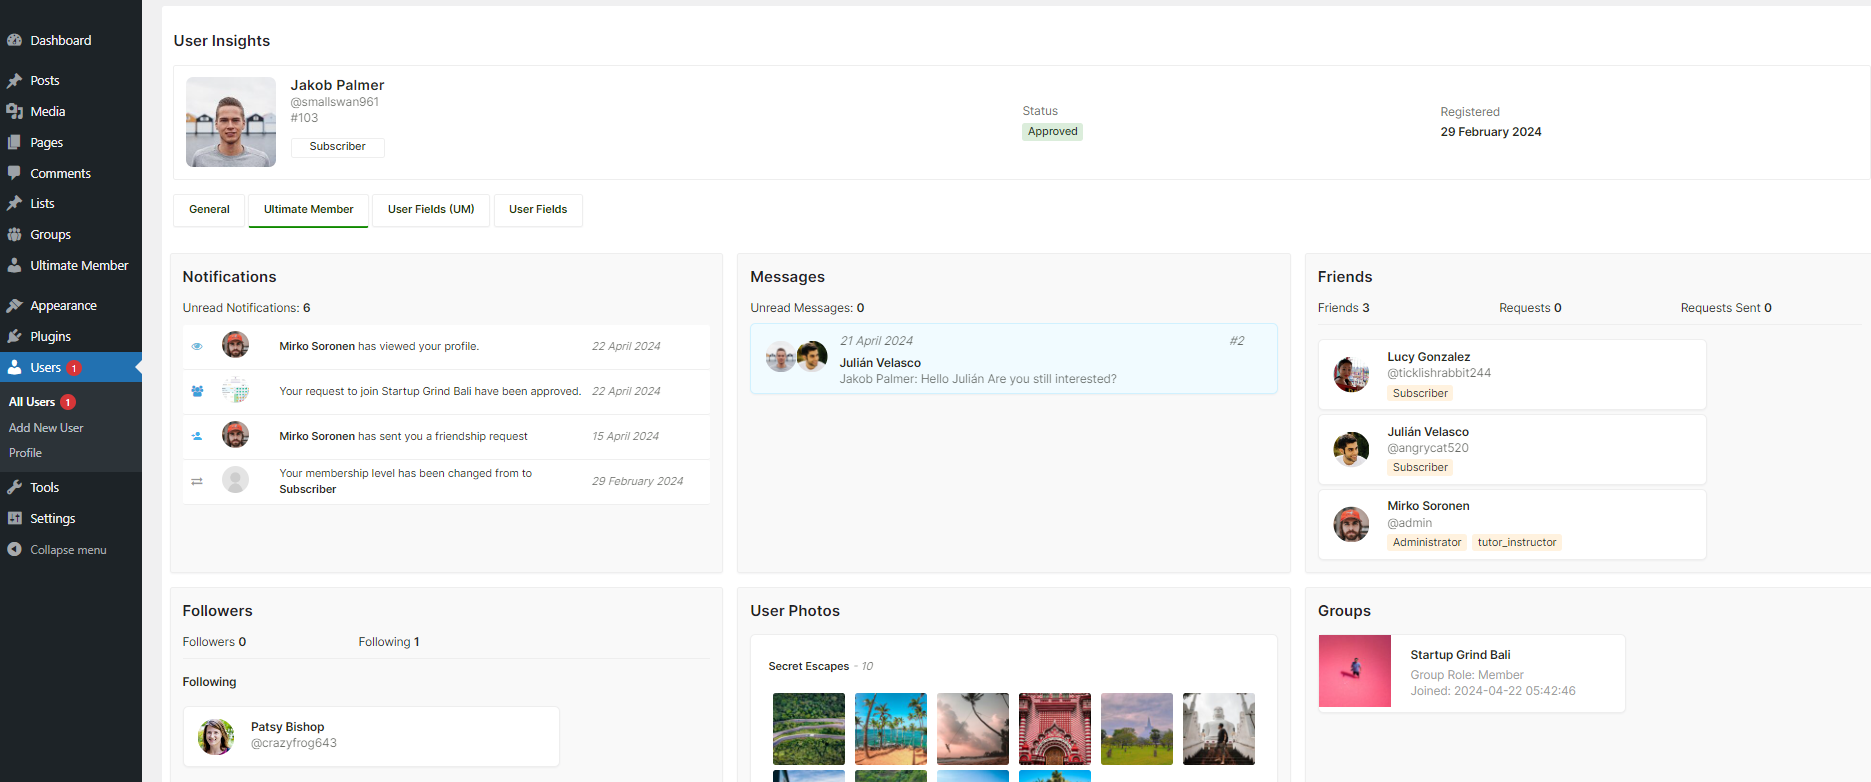
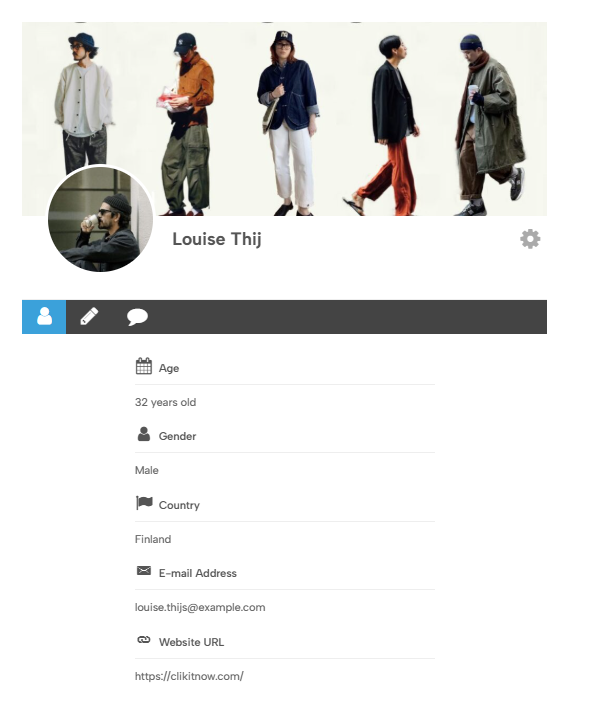
For example, a typical Ultimate Member profile page includes components like the Cover Photo, Profile Image, Profile Navigation, Edit Profile section, and Profile Tab Content area. Depending on the extensions you’ve activated, you may also see additional elements such as Friend Requests, Messages, Notifications, Groups, or User Photos.
In this tutorial, we’ll guide you through the process of customizing Ultimate Member profile templates by overriding the default ones. Let’s get started with the steps to override UM Profile Templates.
Step 1: Create a Child Theme
You need to create a child theme of your current theme. So the changes do not get lost or overwritten when your parent theme is updated. You can create a child theme for your current theme by using the “Child Theme Configurator” plugin.
Step 2: Create templates folder
Inside your child theme folder, create a folder titled “ultimate-member” and then inside this, create another folder titled “templates“.
/wp-content/themes/child-theme/ultimate-member/templates/profile.phpStep 3: Overriding the Default Profile Template
Copy the file profile.php from the plugin’s directory (/wp-content/plugins/ultimate-member/templates/profile.php) and paste it inside the templates folder of the child theme. and change its name to profile-custom.php. You can set it to any name you want.
- Locate the Original File: Navigate to your WordPress installation directory (
/wp-content/plugins/ultimate-member/templates/profile.php). - Copy and Rename: Copy this file to your child theme’s ultimate-member/templates folder. Rename it to something descriptive, like
profile-custom.php.
Step 4: Give a profile title
Open the profile-custom.php file and paste a comment with the template name to the first line, see example:
<?php /* Template: Profile Custom */
if ( ! defined( 'ABSPATH' ) ) exit; ?>
Step 5: Customize the file
- Edit the Template: Now comes the fun part! Customize the layout and content of your profile page.
- HTML & CSS: Use HTML to structure your content and CSS to style it according to your preferences.
Examples: You can add a wrapper div for your forms, remove unwanted sections, or rearrange elements. Once you’re happy with your customizations, save the profile-custom.php file.
Step 6: Activate Your Child Theme
Now, compress the child-theme in a zip file and upload it from Appearance > Themes > Add New Theme
Step 7: Assigning Your Custom Profile Template (Final Step)
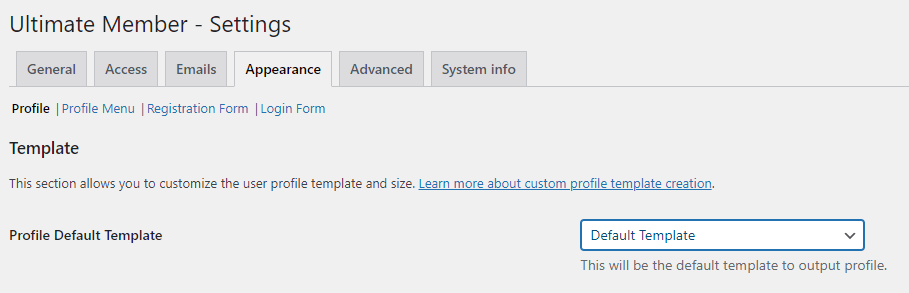
- Navigate to UM Settings: In your WordPress dashboard, go to Ultimate Member > Settings > Appearance.
- Select Your Template: Under the “Profile” section, locate the “Profile Default Template” option. Choose your newly created profile-custom.php template from the dropdown menu.
- Save Changes: Click “Save Changes” to apply your custom profile template.
Congratulations! You’ve successfully overridden the default UM profile template and created a unique profile experience for your users. Remember, you can always revisit and edit your profile-custom.php file for further modifications.
Documentation
- Adding your custom profile templates
- Template structure & Overriding templates via a theme
- How to Change Ultimate Member Profile Layout
Snippets to Customize Profile Page
Remove Edit Icon from Profile Page
remove_action( 'um_pre_header_editprofile', 'um_add_edit_icon' );Remove Cover from Profile Page
remove_action( 'um_profile_header_cover_area', 'um_profile_header_cover_area', 9 );